How to Digitize Your Sketch
Posted in Insights
Are you an illustrator just beginning your adventure into creating digital art? Sometimes it's tough to know when a sketch is ready to go full-blown digital and how to make it so, quickly and painlessly. Fear not, it's very simple to change the sketch you've been groovin’ on into a digital illustration in four simple steps. FINE designer, Michelle, is here to take you through them.
Step 1: Prep it
If your sketch is in pencil, draw over it with a pen to provide contrast. This saves time and prevents headaches as we move through the rest of the process.
Step 2: Scan it
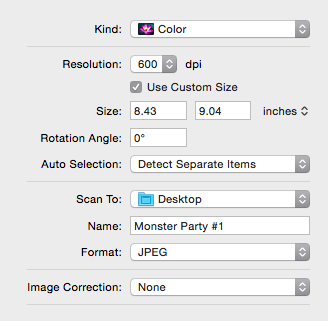
Now that you have your illustration traced in pen, it’s time to take it into the digital realm via a little magic machine called the scanner. It’s important to set up the scan correctly. The most important detail is setting the resolution for at least 600 dpi. Remember, you can always scale down but you can never scale up.
Here’s a screenshot for how I set mine up:
Step 3: 'Shop it
What a beautiful scan you have! Now, it’s ready for a little TLC from the king of image manipulation, Photoshop. Even though the drawing already has contrast, we really need the black to be as black as possible and the white to be as white as possible.
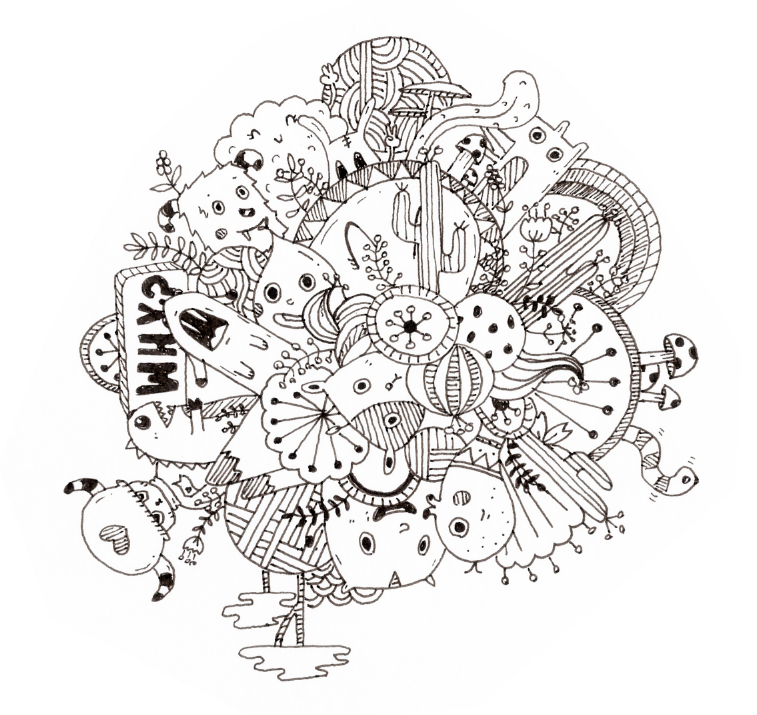
At this point, you will adjust the contrast by playing around with the adjustment layers. I tend to stick with just the essentials: Black & White, brightness/contrast, and exposure (usually in this order). Often, that’s enough, but each illustration is a unique snowflake so experiment to get what you want.
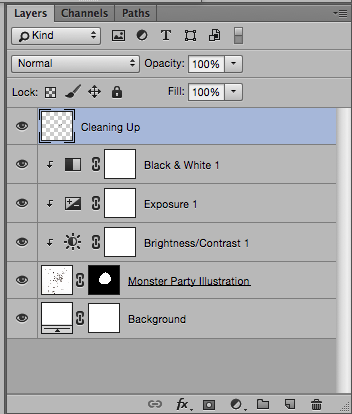
This is also the time to clean up your drawing if you have any stray ink or pencil lines. I like to add an additional layer on top and use the brush tool to add and subtract from the illustration if need be.
Step 4: Isolate it
Tadah! Isn’t it beautiful? Now, depending on what you’re trying to do with your sketch, it can be really helpful to isolate the blacks and turn the background transparent.
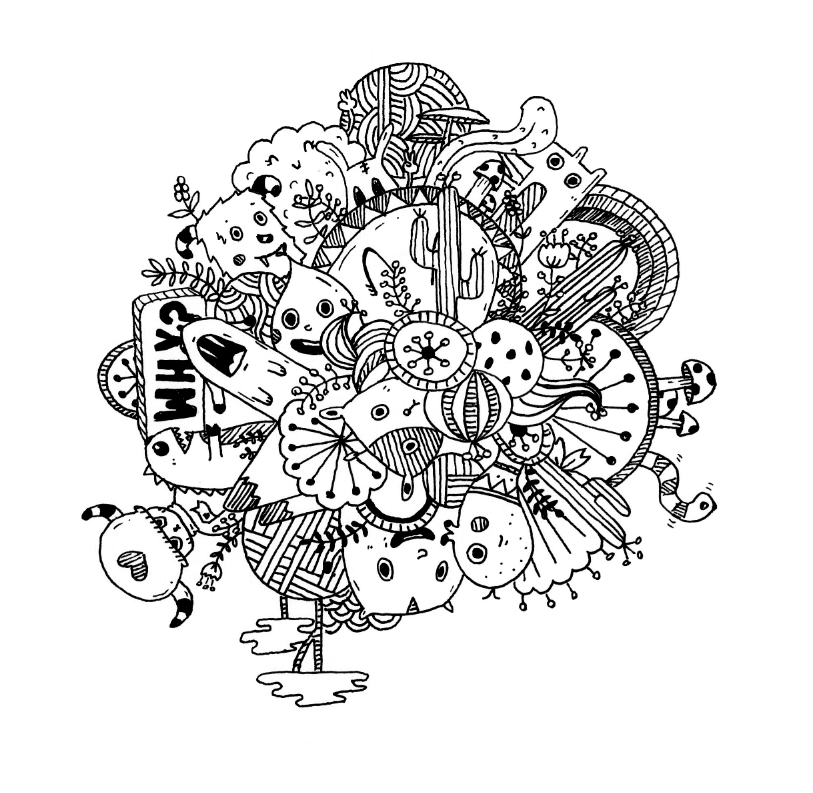 To do this, you go to Select > Color Range and use the eyedropper tool to select the black of your drawing (just click in the black).
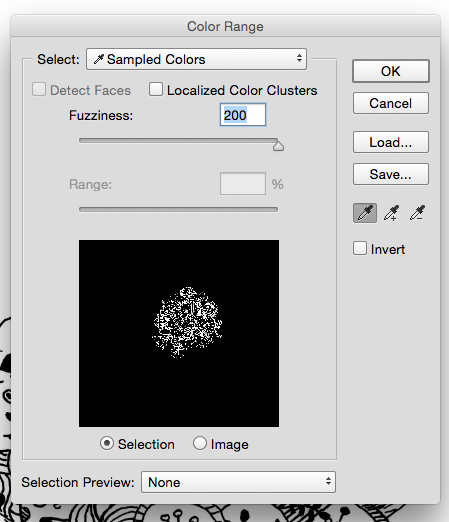
Now you have a selection of just the black line art, hooray!
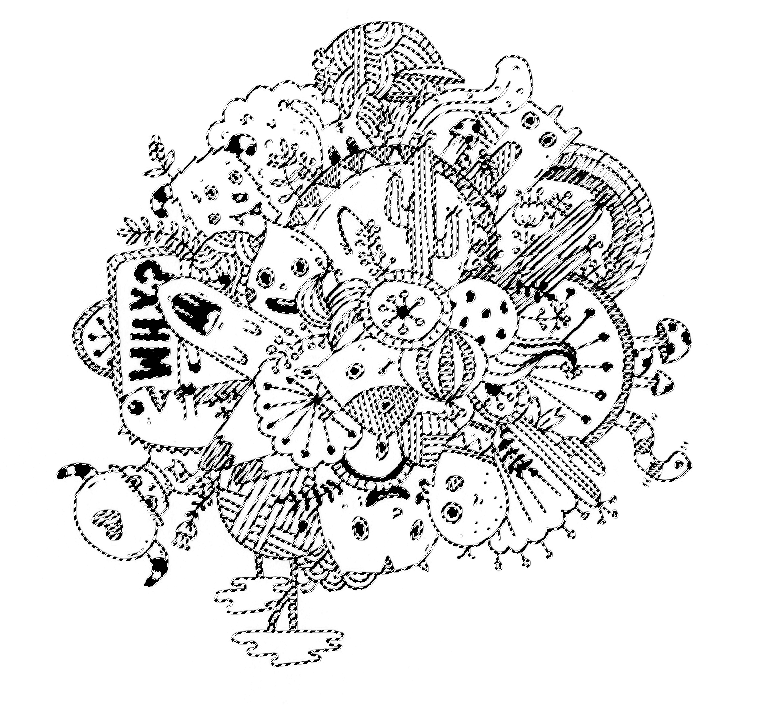
You can use this selection to add a fill so your lines are even more clean and dark. You now have your black line drawing isolated and you can play with it however you want!

I hope this helps those of you in need to get a handle on turning your sketch into digital artwork. Have fun!
Note: Photoshop and Illustrator are great and mighty tools and there are numerous strategies to get the same result. This is simply the most useful and easy way I’ve come up with. There are even apps like Adobe Shapes that can turn your sketch into a vector just by taking a picture of it with your phone. The method I’ve shared is just my favorite and reliably produces a high-quality illustration every time. What other strategies have you tried? Share!